
Think in layers, not products
A house exterior is a layered environmental separator. Cladding sheds most rain, but it is not expected to stop every drop. Behind it, a drainage plane directs incidental water outward. Flashings bridge interruptions. Insulation slows heat flow, air-control layers limit uncontrolled leakage, and interior systems manage vapor according to climate and assembly. A premium shingle or window cannot compensate for discontinuity between these layers.
Start at the roof edge
The eave joins shingles, underlayment, ice protection, drip edge, fascia, soffit, ventilation and gutter. Each piece affects the next. Water must leave the roof without curling behind metal; ice-sensitive zones need appropriate protection; attic air must enter without wind-driven snow freely entering. During exterior renewal, this edge deserves a drawn detail rather than a stack of assumptions inherited from different trades.
Follow water down the wall
At roof-to-wall intersections, step flashing should direct water onto the drainage plane, and kick-out flashing should move concentrated flow into the gutter instead of behind siding. Window head flashing belongs in the same path. Horizontal trim, decks, meters, hose bibs and light fixtures interrupt the wall and need integration. The useful question at every interruption is simple: if water reaches this point, where can it safely go next?
Respect the rainscreen gap
Many wall assemblies benefit from a drainage and drying space behind cladding. The depth and components vary, but the principle is consistent: provide a route for gravity drainage and some potential for drying. Blocking the base, trapping the top or compressing the gap at trim reduces its value. In cold climates, this modest space can improve resilience when wind-driven rain passes joints or outward drying is seasonally limited.
Treat windows as holes in the control layers
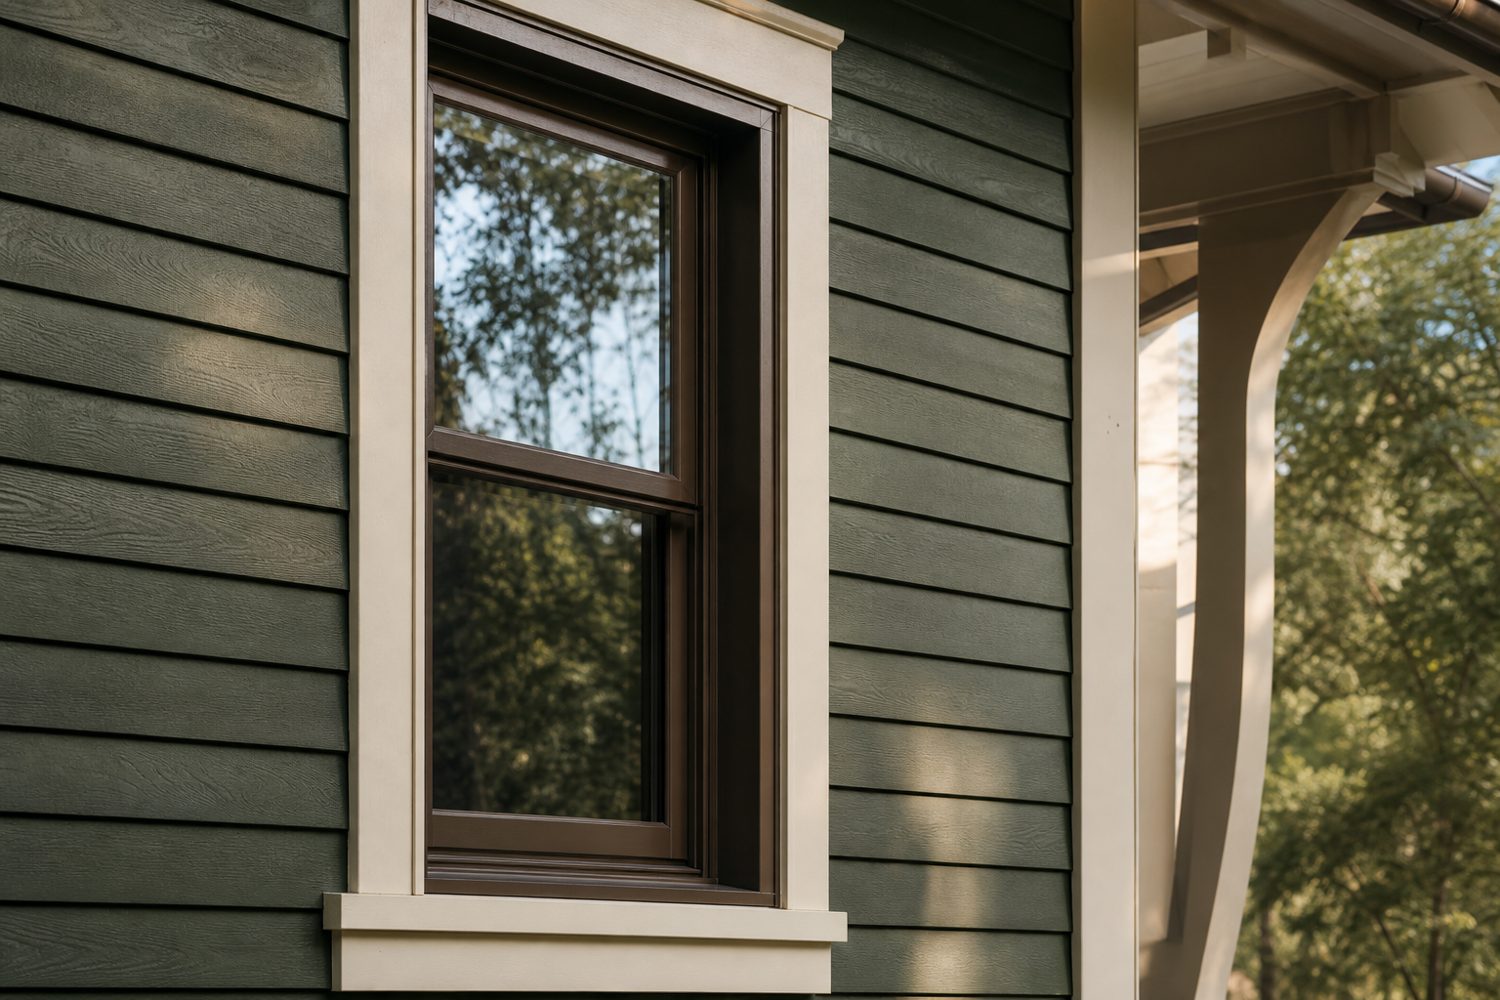
A replacement window is not complete because the unit fits and trim covers the gap. Sill support, sloped drainage, pan flashing, jamb integration, head flashing, perimeter air sealing and exterior clearances all matter. Existing homes vary, so removal may reveal conditions that cannot be confirmed during sales measurement. A responsible scope explains investigation limits and carries a process for concealed damage.
Balance air sealing and ventilation
Uncontrolled air leakage can carry substantial moisture into cold assemblies, while intentional ventilation serves different goals. Attic intake and exhaust should be balanced and unobstructed; bathroom and kitchen exhaust should terminate outdoors; combustion safety must be respected when tightening a house. Exterior work is a chance to resolve obvious bypasses, but it should not rely on simplistic claims that a new cladding layer will make the whole home efficient.
Allow materials to move
Wood, engineered products, vinyl, metal and cement-based materials expand and contract differently with temperature and moisture. Fastening, joint spacing, sealant geometry and finish coverage must reflect the chosen system. Dark colors can increase heat gain. Long uninterrupted runs amplify movement. Manufacturer instructions provide minimum rules, while project detailing reconciles those rules with architecture and adjacent materials.
Design the bottom edge
Clearance above roofs, decks, paving, soil and vegetation protects siding and trim from splashback, snow storage and capillary wetting. Weep paths must remain open. Downspouts should discharge to a reliable route rather than saturate foundations or freeze across walks. Beautiful planting can coexist with durable walls when mature size, maintenance access and drainage are considered before the beds are rebuilt.
Use diagnostics proportionately
Moisture meters, infrared imaging, blower-door testing and selective openings can each answer specific questions, but none is magic. Infrared patterns require temperature difference and interpretation; surface meters do not reveal every concealed condition; destructive openings need permission and repair planning. Begin with history and visual patterns, then select the least invasive method capable of reducing the actual uncertainty.
Coordinate the final composition
Performance and appearance are not competing goals. A continuous head-flashing line can become a calm datum. Adequate roof overhang protects walls and gives shadow. Proper window depth makes trim feel substantial. Downspouts can align with corners instead of cutting across focal elevations. When control layers are resolved early, the visible architecture becomes simpler, quieter and more convincing.
Map the four control functions
A useful exterior review traces four functions continuously: bulk-water control, air control, thermal control and vapor management. They may be performed by different materials, but each layer must connect around corners, floors, openings and roof transitions. Draw each control line in a different color on a section through the house. Wherever the pencil lifts, ask what component makes the connection. This simple exercise reveals why a window specified in isolation or a roof replaced without sidewall details can leave the most important weakness untouched. The correct material varies; continuity is the durable principle.
Diagnose condensation before blaming a leak
Water at a window or roof deck may come from exterior rain, interior air leakage, surface condensation or a plumbing source. Timing provides clues. Rain-linked staining points toward drainage and flashing; frost that appears during deep cold often implicates humid interior air reaching a cold surface; widespread lower-glass moisture may reflect high indoor humidity or weak glazing. Record outdoor temperature, indoor relative humidity, wind and recent activities. Do not seal random exterior joints until the mechanism is understood. Trapping a drainage path or moving condensation deeper into an assembly can trade a visible symptom for concealed damage.
Detail penetrations as miniature windows
Meters, hose bibs, vents, cables, lights and receptacles interrupt cladding and the drainage plane. Each requires a block, flange, flashing or compatible sealing strategy that remains serviceable. Smearing sealant around a fixture face rarely creates a durable connection behind the siding. During renewal, identify every penetration, remove obsolete items and decide which trade owns reconnection. Maintain downward drainage, avoid reverse laps and provide mounting surfaces that do not crush cladding. Photographs before the fixture returns are valuable because the most important interface will disappear behind the finished plate.
Connect decks and additions deliberately
Deck ledgers and later additions are frequent discontinuities because they combine structural fastening with water management. A ledger should not rely on surface caulk as its primary defense, and wall flashing must coordinate with decking, doors and cladding. Roofs over additions create low-slope transitions, short sidewalls and snow collection zones that demand special attention. Existing conditions may limit ideal integration without partial disassembly. A responsible plan identifies those limits, prices exploratory work where necessary and avoids covering a questionable connection with new finish material.
Protect drying potential
Assemblies occasionally get wet through construction, small defects or unusual weather. Durability depends partly on whether moisture can leave. Very low-permeance layers on both sides can reduce drying; so can impermeable coatings, foil facers and adhered finishes used without regard to the existing wall. Climate, insulation location, indoor humidity and material reservoirs all affect the direction and rate of drying. This does not mean every wall needs maximum permeability. It means product substitutions should be checked against the complete assembly rather than approved because a single brochure calls them breathable or waterproof.
Commission the finished work
Closeout should test intent, not merely confirm that materials are present. Run water through gutters and observe discharge. Verify that exhaust ducts terminate outdoors, intake vents remain open, flashings project correctly and sealant joints have adhesion and geometry. Operate windows and doors; inspect locks, screens, sill drainage and interior finishes. Review photographs of concealed layers against the selection schedule. Note seasonal items that cannot yet be tested and assign a follow-up. Commissioning turns drawings and scopes into evidence that the assembled exterior behaves as planned.
Maintain interfaces, not just surfaces
Homeowners are often told to repaint siding or clean gutters, but transitions deserve equal attention. Each spring, view sealant at windows and penetrations, metal terminations, roof-to-wall kick-outs, siding clearances, downspout extensions and deck connections. Look for staining that maps a recurring water path. Trim vegetation to preserve airflow and access. Keep snow and stored materials away from vulnerable wall bases. Small interface maintenance is usually more effective than cosmetic treatment after water has traveled behind a large area of otherwise sound cladding.
Use mockups before closing the wall
When existing conditions are unusual, a small field mockup can settle sequencing before broad installation. Assemble the proposed membrane, flashing, trim and cladding transition at one representative opening or corner. Review laps, fastener placement, drainage exits, finish clearances and visual depth with the crew. Photograph accepted work and carry that standard to repeated locations. Mockups are especially useful when drawings meet irregular old framing, masonry or additions. They reduce improvisation, reveal incompatible dimensions early and give quality checks a concrete reference instead of relying on verbal descriptions after the assembly is concealed.
Questions to bring to the table
Ask what is observed, what remains uncertain, which details will be concealed, how substitutions are approved, what maintenance is expected, and which records you will receive at closeout. Those questions apply whether the next step is monitoring, localized repair or coordinated replacement.
Closing note
This guide is general educational information, not an engineering opinion, code determination, insurance coverage decision or diagnosis of a specific property. Conditions vary. Use qualified local professionals and follow manufacturer instructions, permits and applicable Minnesota requirements.